Safety Blog Posts
All posts
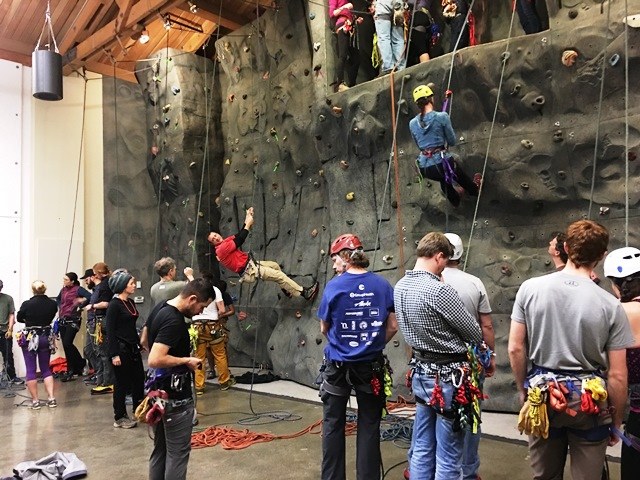
Climbing Gym Auto Belay – Clipped In? Uhh...
Excerpts from the personal blog of Bill Ashby, Mountaineers Director of Operations. Read more…
Risk Management Review - Status Update

In mid-July, at the direction of the board, CEO Tom Vogl signed a contract with Outdoor Safety Institute (OSI) to conduct a risk management review of Mountaineers programs. The next step for our volunteer leaders is to participate in a risk management survey. Read more…
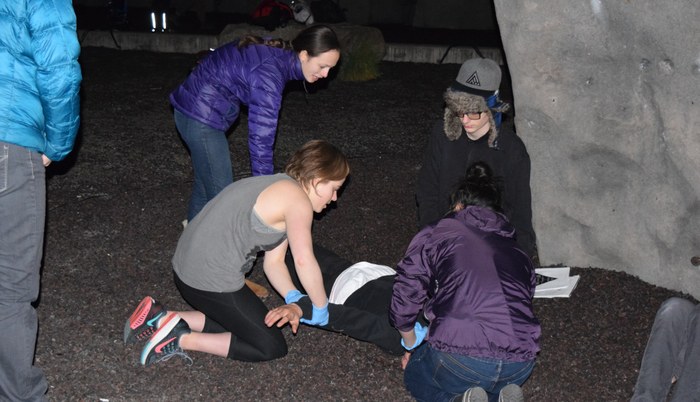
How To: Recognize and Treat a Concussion
When someone mentions concussions, most people think of car accidents or full contact sports like football, rugby, or hockey. But with such an increased chance of an impact to our heads - whether it be from a falling rock from above, or us falling and hitting our heads - climbers have a serious chance of sustaining a concussion. Read more…
Safety Incident Updates - October 2016
Incidents reported in October 2016. (Just one) Read more…
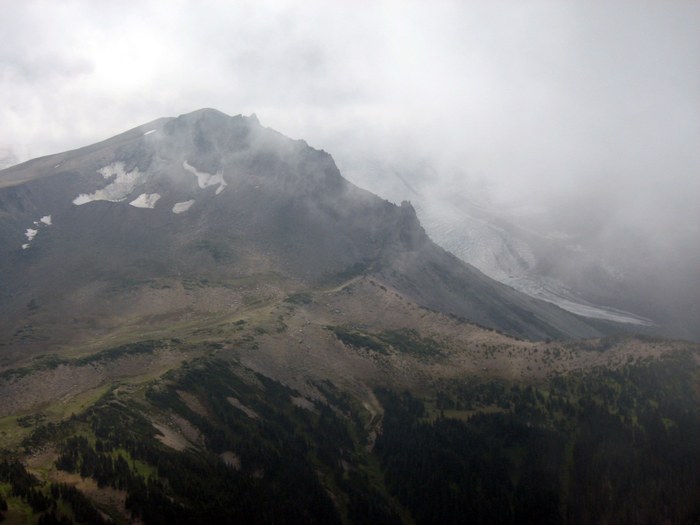
Inter Glacier, Mount Rainier - Rockfall Bomb
Our party approached the Inter Glacier around 1:30pm and evaluated options for ascending from the boulder fields at its terminus onto the slopes above. We had been advised by the Park Service that rock fall had been observed recently. Read more…
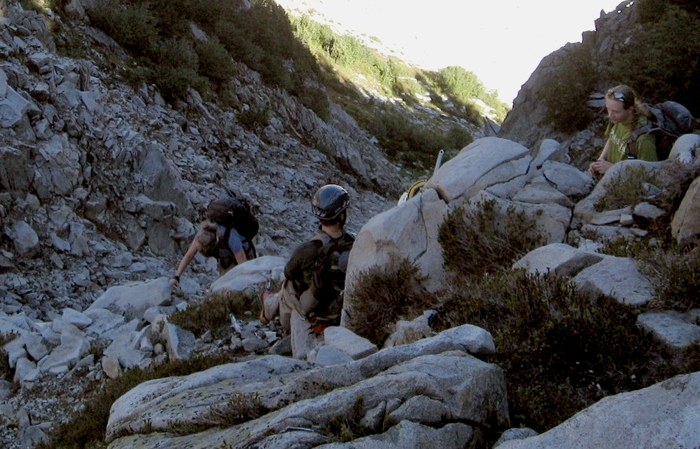
How To: Navigate Loose Rock
Rock fall is one of the more common causes of injuries in both climbing and scrambling. The rock in the Olympics is notorious for its poor quality, and the Cascades, although overall it is of much better quality, has its share of choss piles as well. A friend of mine used to joke about climbing in the Olympics, “if you don’t like your options for handholds, pick the rock up and move it somewhere else.” Read more…
2016 Incident Charts - September
The data below was extracted from the Safety Incident reports submitted in 2016 (January thru September) by trip leaders and participants. Interpretation of the incident narrative was done to best categorize the incidents.
A look at incidents reported in September 2016 (only 4), and an examination of the terrain where incidents occurred in 2016 (it appears that trails are the most dangerous places to be). Read more…
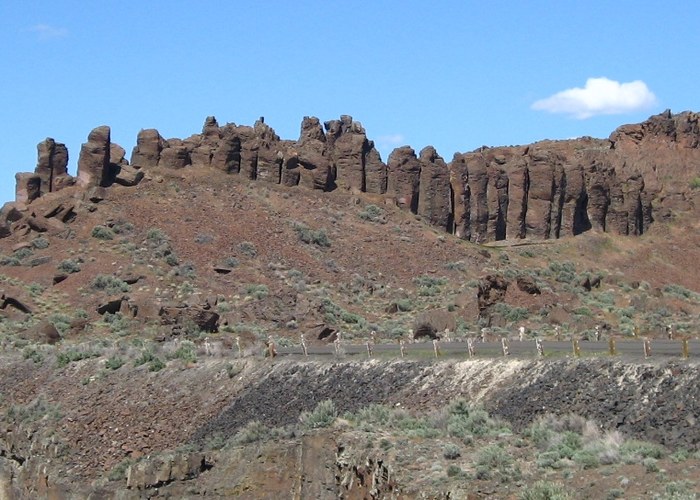
Vantage - A big loop of slack
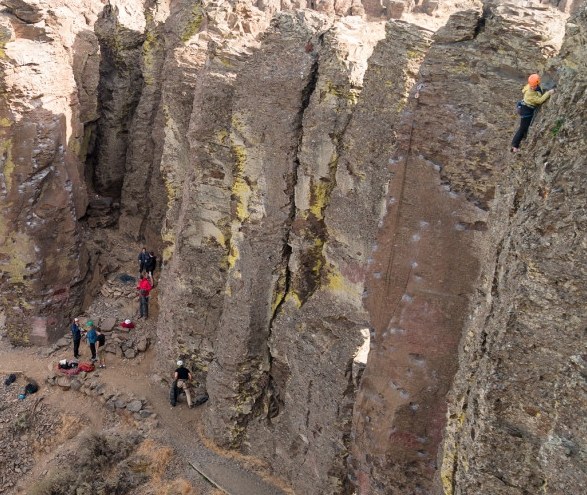
I was climbing a 35' sport route at River View wall in Echo Basin (Vantage). The route was within, but towards the top range of, my ability. So falling was a definite possibility. Read more…
2016 Incident Charts (January-August)
The data below was extracted from the Safety Incident reports submitted by trip leaders and participants. Interpretation of the incident narrative was often done to best categorize the incidents. Read more…
Risk Management Review - Meet Our Consultants
In mid-July, at the direction of the board, CEO Tom Vogl signed a contract with Outdoor Safety Institute (OSI) to conduct a risk management review of Mountaineers programs. This affirms our ongoing commitment to safety and ensures our programs and trips are conducted in the most professional manner possible. Read more…
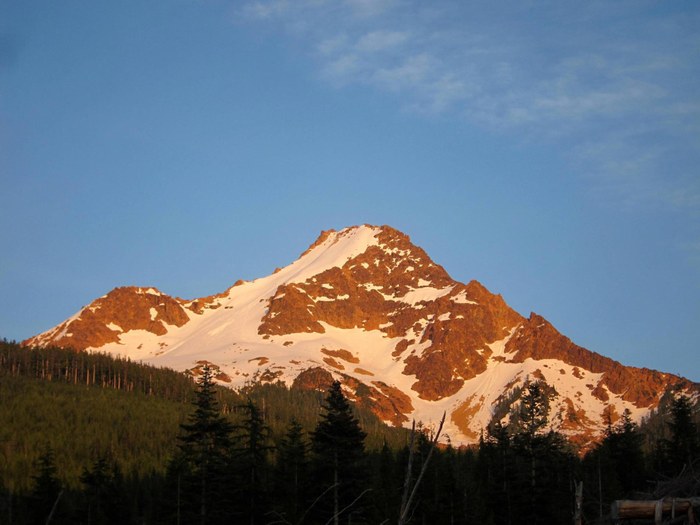
After Rock Severs Finger, Scrambler Directs Her Own Care
After a successful summit, while descending back into the Snow Lake Basin down a 20 degree boulder field, a scrambler knocked loose a rock. This rock was supporting several other rocks, triggering a slide above her. Other party members recall seeing somewhere between "several" and "many" "large" rocks sliding down from above where she had been. Somehow in this mayhem, one of the rocks hit the scrambler. Read more…
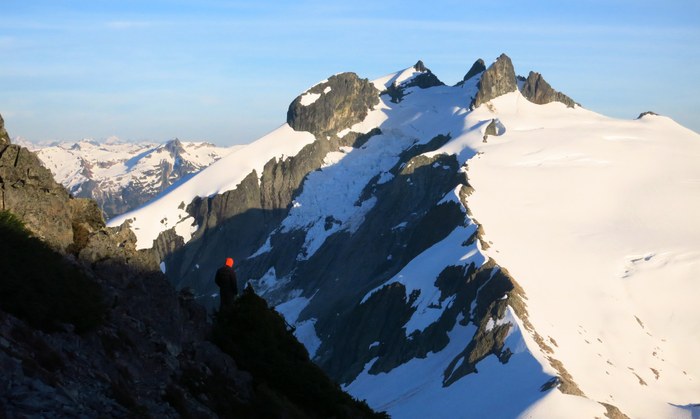
The Art of Bailing: North Twin Sister and her Seductive Cairns
We were so close (we think) to the summit. Darkness was still a few hours away, and we had a fleeting glimpse of hope that we’d be able to find the route and regain the ridge to the top. Passing anxious scramblers - dodging scree and loose rocks they were kicking down on each other while down-climbing a sketchy section of rock - put a damper on our spirits. Read more…
How To: Prevent and Treat Heat Related Illness
June was an interesting month in the mountains. We had “June-uary” conditions, giving us lots of new snow, rain, and wind. We also had scorchingly high temperatures with places like Leavenworth and Vantage reaching close to 100°F. As we progress through the summer, we need to be mindful of the dangers on these hot, sunny days - even if we are out on snow or a glacier. Read more…
Summer Camp Boom Time
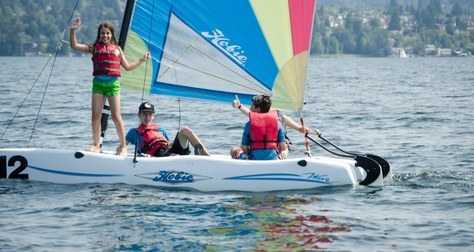
While sailing with Sail Sand Point, a Mountaineer summer camper, was struck in the face with a boom while the captain of the boat began a tacking maneuver. Read more…
Connections in the Sky: mount-top ham radio
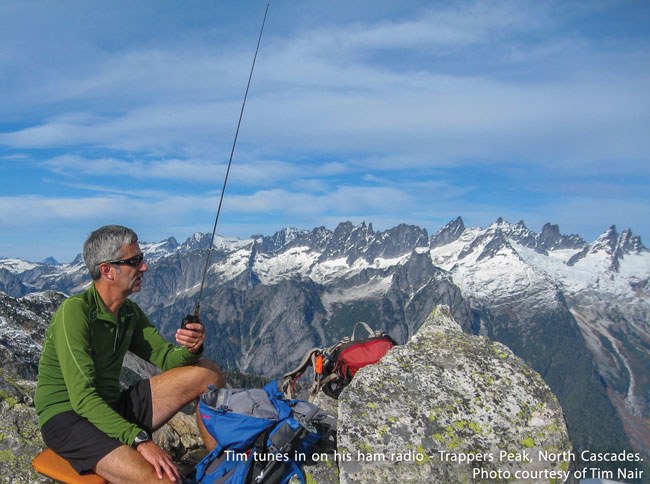
You’ve reached the summit and the view is breathtaking: time for a “Summit-Selfie” to share your success with your friends...but there’s no cell coverage up here. You have a Personal Locator Beacon, but this doesn’t quite qualify as an emergency. Fortunately, you have a ham radio and can talk to the world. Read more…
Play Safe: Recreating in Bear Country with David Moskowitz - June 29
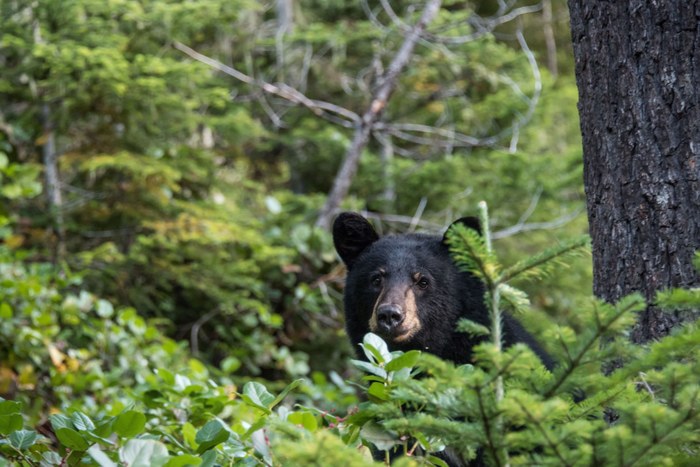
Washington’s North Cascades are home to thousands of black bears and fewer than twenty grizzly bears. Knowing how to play safe in bear country is as important as bringing a first aid kit and appropriate clothing for your adventure. Read more…
The Sit, Spin, and Pendulum Rappel
I was leading a SIG rock field trip at the Feathers. Read more…
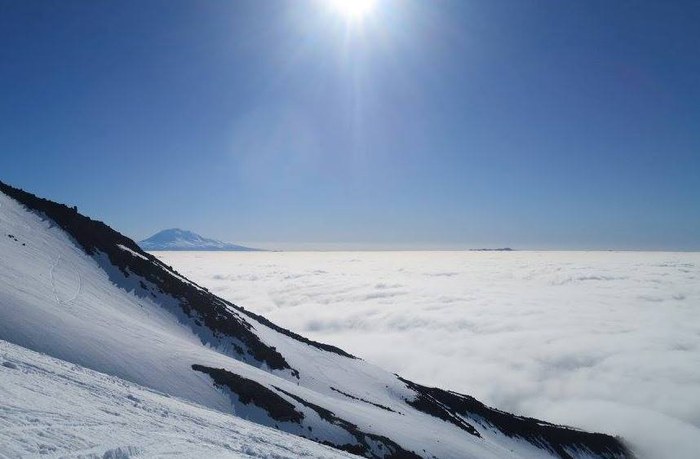
Sunglasses: An Easily Overlooked Essential
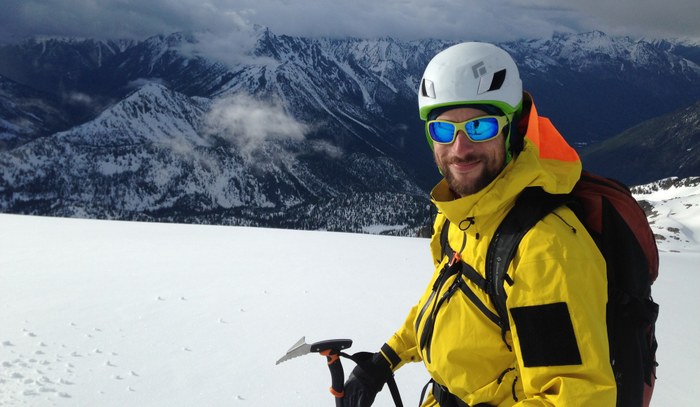
With the awesome weather and sunny days we've had lately, it’s hard to think anyone would go outside without a pair of sunglasses handy. But on cloudier days or early morning alpine-starts, it's easy to forget shades in your car or tent. Sunglasses aren’t usually at the forefront of your mind at 2am when the wind's howling and you're trying to buckle your crampons. However, forgetting this vital bit of gear can be as bad as forgetting your ice axe on a glacier or your cams on a rock wall. Read more…
Seattle Program Center: Automated External Defibrillator - in case you need it
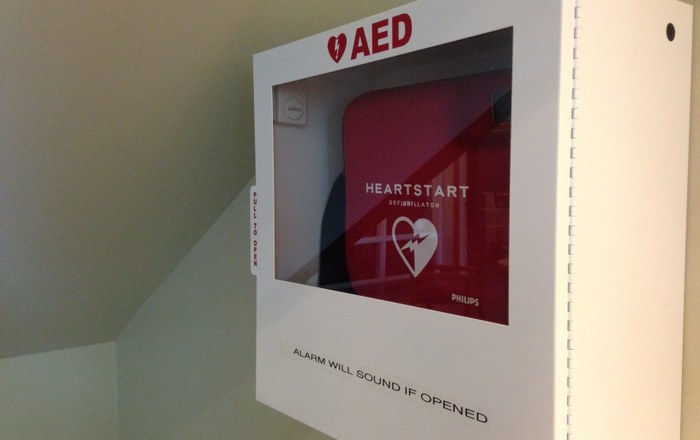
In the event of any cardiac emergency, FIRST CALL 911.
Then, fetch the Philips HeartStart Automated External Defibrillator (AED), now available in the Seattle Program Center near the lobby drinking fountains. Read more…
Stevens Pass: Ice Axe Arrest Practice - There's Something Unknown In the Snow
There were two separate instances of injury on this Snow FT conducted by the Alpine Scramble course. Read more…
How To: Manage the Risks of River/Creek Crossings
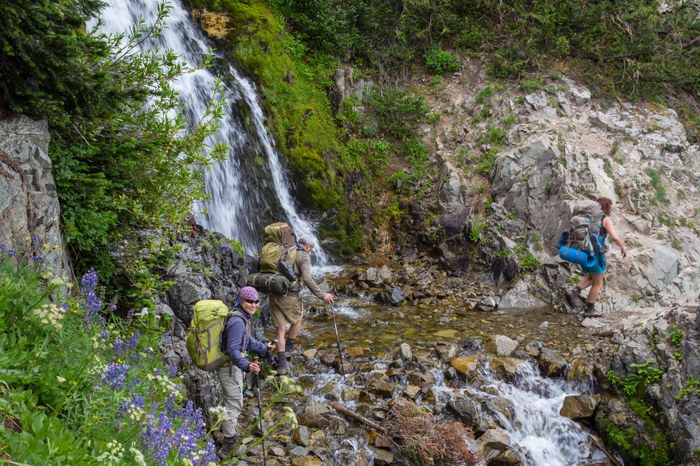
As the weather gets warmer and winter snow melts away, more of us are heading outside. And as the snow melts, it leaves us with a sometimes a challenging obstacle: water. In the Cascades, it doesn't matter if you are a hiker, scrambler, or climber, eventually you'll have to deal with a water crossing. It could be a small trickle or a rushing river. It's not a matter of if, but when, you'll encounter this obstacle.
This article was updated in May 2018.
Historical Perspective
A few years ago, a Mountaineers group was headed to climb Sahale Peak. The team was crossing a small drainage in the area between Midas and Morning Star Creek - two of the main creeks that flow out of the Quien Sabe Glacier below Sahale - when one of the climbers slipped and hit her face on the rock in the creek. This caused a small laceration, just under the right eye, and swelling around the area, as well as a headache, slight dizziness, and swelling. The trip leader decided to cancel the climb and turn around at this time. The group headed back to the cars and the injured climber was taken to the hospital for medical evaluation. Luckily, she sustained no fractures or head injury, but she did have a nasty black eye.
This incident shows how something seemingly simple, like crossing a small trickle of water, can be detrimental to the success of a trip.
Avoiding Hazards
Many different hazards are involved in water crossings: slippery, moss covered rocks, swift currents, soggy boots, and cold feet. If you do fall in, you have soaked clothing and gear, the risk of hypothermia, potential projectiles in the water like logs and boulders, and much more.
Here are some tips to reduce your chances of ending up soaked and needing to cancel the rest of your trip:
- Never try to cross a major stream if you are alone. It only takes 2" of water to drown. The climber in the incident above could have easily been knocked unconscious, and if there was no one to help her up, it could have been a different outcome.
- Quickly search both upstream and downstream for a way to cross without having to ford the water. Look for downed logs, closely spaced stones and boulders, or narrow points in the waterway. Be sure to keep in mind the ability and experience levels of everyone in your group.
If you find possible logs or stepping stones, consider:
- Will it hold you? If you are considering a log, is it strong enough to hold your weight as you cross, or is it rotten and will break once you are half-way out? Is it wide enough to get good foot placements? Are there branches sticking up in your way? If you are considering stones, are they sturdy and solid, or are they going to shift under your weight and dump you in the water?
- What is the surface like? Does that log have rough, textured bark that will give you good traction, or is the bark peeled away showing damp, slick hardwood? If you are unsure of the footing, but the log seems strong enough, one alternative is to butt-scooch along the log. Are those stepping stones covered in slick moss, or do they have good texture?
- Be particularly cautious of log jams. They might seem like a solid option, but the logs can easily shift and throw you off balance and into the water. Now you are in even bigger danger of getting caught underwater by one of the logs.
Regardless of how you have to cross - whether it be logs, stepping stones, or just fording the water - take a minute to look downstream of your crossing point and examine the hazards you could encounter if you fall in. Is there a large waterfall you could get swept over? Maybe a downed tree or log jam that you could get caught in or some large boulders you could hit. If anything like this poses a danger, re-evaluate your crossing point.
Picking the best spot
If your only option is to ford the water, follow these steps:
- Look for the shallowest, slowest running section. This is usually also a wider section of the waterway.
- Assess the water's speed by tossing in sticks, leaves, or grass into the water. If there is debris actively floating down the water (evidence of flooding) or the sound of tumbling rocks can be heard underwater (evidence of fast-moving water), the crossing should be abandoned.
- Keep in mind the the physical stature of other people in your group. Two feet of water could be less than knee-deep if you are 6'6" tall. But it could be mid-thigh deep for someone under 5' tall, and that makes it much more challenging.
- Look at the bank on the other side. Avoid steep banks as this not only indicates a challenge exiting the water, but that steepness could continue dramatically down and create a deep hole with fast-moving water.
- If possible, plan to cross early in the morning. Many of the waterways in the Cascades are directly fed by snow-melt. After a cool night, there won't be as much melting and the water level will be lower. On the flipside, after a long, hot summer day (or even a warm spring rain) there will have been a lot of melting and all that water will be rushing through the streams at a higher overall level that afternoon, making them both deeper and faster flowing.
Staying Dry & Avoiding Injuries
Once you've chosen your place to ford the water, follow these tips to stay dry and avoid injuries:
- If you have sandals with an ankle strap (like Chacos or Tevas) change into those. Avoid flip-flops as the loose heels can get caught in the current and make you lose your balance.
- If you don't have alternate footwear, at least take your socks off and put your bare feet back in your boots. That way, you can put your dry socks back on after crossing and they can start to absorb some of that water in your boots.
- Do not cross in just your bare feet. Unknown hazards in the water, like sharp sticks, rocks, possibly even fishhooks, could injure you. Your bare feet are a poor substitute for the traction provided by the soles of your boots.
- Take off extra layers and pack them in the most water-proof thing you have. I always carry one or two extra heavy-duty trashbags in my pack. Take that warm puffy off and wrap it up the best you can. You'll want it once you get to the other side! Roll up your pant-legs, or ditch your pants altogether.
- Undo your waist-belt and sternum straps on your backpack and loosen your shoulder straps. If you do fall in, this will allow you to easily get your pack off.
Crossing Methods
- If you are crossing the water one at a time, use your trekking poles, ice axe, or downed tree limbs for stabilization.
- Cautiously enter the water and face upstream. If you only have one pole or limb to help you, hold it with both hands in front of you (upstream) to form a tripod with it and your legs. Lean on the pole as third leg as you shuffle-step across, keeping two points of contact at all times. If you have two poles or limbs, you can use the one in your leading hand to probe along the way and feel for submerged obstacles or hidden holes.
- Another method is to cross as a group using the "mutual support method." There are two options for this - in the first option, everyone should face upstream and hold on to the shoulders or backpack of the person in front of them (front person can have a pole or limb). As a group, shuffle step across the water, using each other for support and stability.
- Another option is for everyone to face the opposite bank and move together as a unit. In this method, keep the waist-belt of your backpack buckled. Insert your arms between your neighbors' back and their pack, and grab their waist-belt on the opposite hip. In both scenarios, the most upstream person should be strong, then the second person should be the strongest and/or most experienced. The person on the other end should also be strong, and then all other members sandwiched in the middle. End people can also have poles for extra stability. Don't break formation until everyone is out of the water.
Regardless of which method you use, don't fight the current or try to go straight across the water. Instead, with each step move diagonally downstream as you make your way across.
If you do fall in, try to stand back up as quick as possible before your backpack gets too waterlogged. If you are swept downstream, get out of your pack but try to keep hold of it and use it for flotation. Try to position yourself face up with your feet downstream of you. Only try to stand up once you can touch the bottom in shallow water. Editor's Note: Be aware of the dangers of foot entrapment anytime you stand up in moving water.
Once you've made it across, wring out your damp clothes and use a pack towel to dry off as much as you can. If available, switch into dry clothes. Put on an extra insulating layer to help keep in what little body heat you have. Pop a quick bite of food in your mouth and start hiking to generate some more warmth.
Take every water crossing seriously. Always ask yourself, "Do we need to cross? Where do we cross? How do we cross?" Even with all of these tips, be sure to keep in mind that if there is any doubt, not crossing at all is the best option.
Tacoma Program Center: Rappel Sit-n-Spin-n-Sprain
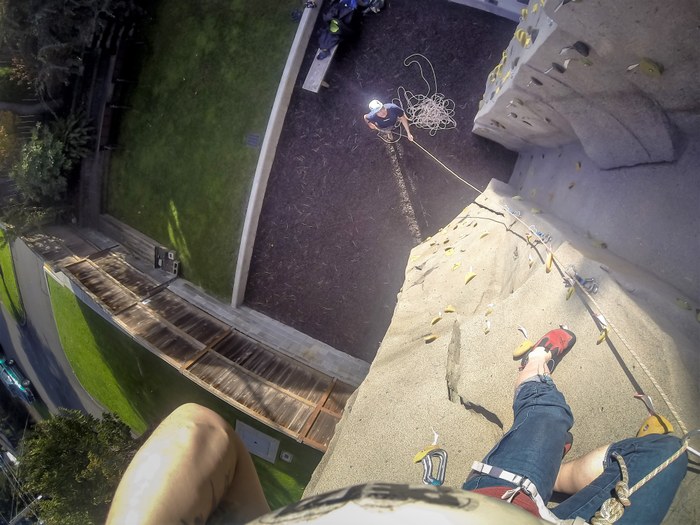
A student sprained their ankle while beginning a rappel during an Intermediate Climbing Qualifier Practical Exam on January 24. The injury occurred at 1pm. Read more…
How to: Reduce a Dislocated Shoulder
As I skimmed through the latest Annual Safety Report looking for ideas for this month's article, I noticed The Mountaineers had 5 instances of dislocated shoulders in 2014. This got me thinking about all of my friends who have had shoulder dislocations while out in the backcountry. Read more…
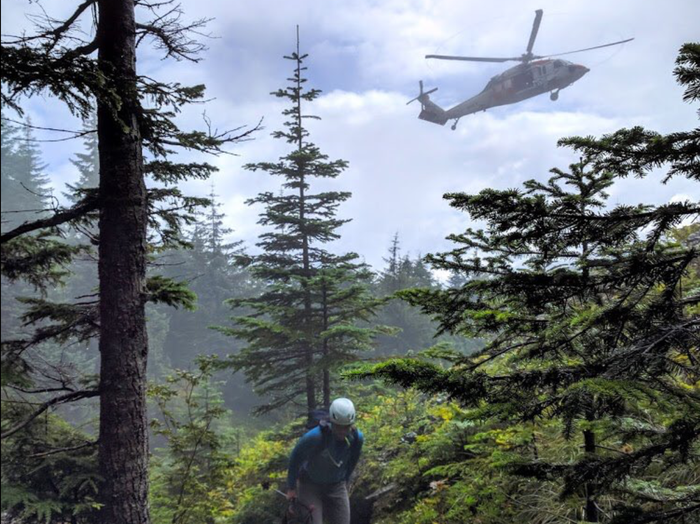
Signaling for Help by Satellite
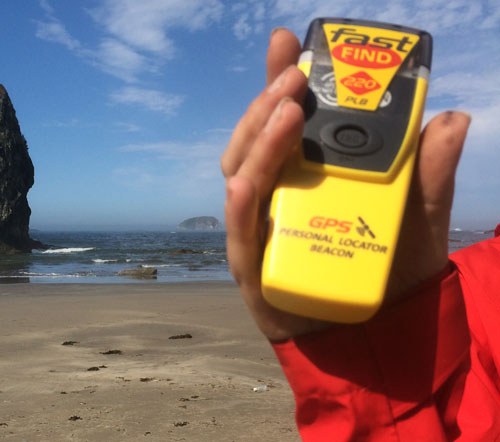
It’s a climber’s nightmare. Last February both members of a 2-party climbing team fell and slid 800’ descending Mt. Stuart, sustaining serious injuries, including head and neck injuries and a broken leg. Yet, within less than four hours they are rescued by helicopter. How did they notify the rescue agency? A satellite notification device. Read more…
Now Offering Wilderness First Responder Courses and Recerts
Starting in Spring 2016, The Mountaineers will be offering Wilderness First Responder and Wilderness First Responder Recertification courses! Read more…
Seattle Program Center - You! CALL 911
Two climbers attended Friday Open Climb Night to practice Basic course techniques in preparation for a Basic Equivalency Evaluation, scheduled for November 3. Read more…
Safety First: The Danger of Herd Mentality
We’ve all read stories in the news or Accidents in North American Mountaineering or our annual safety reports of bad things happening to good, smart people, often with years of experience. Read more…
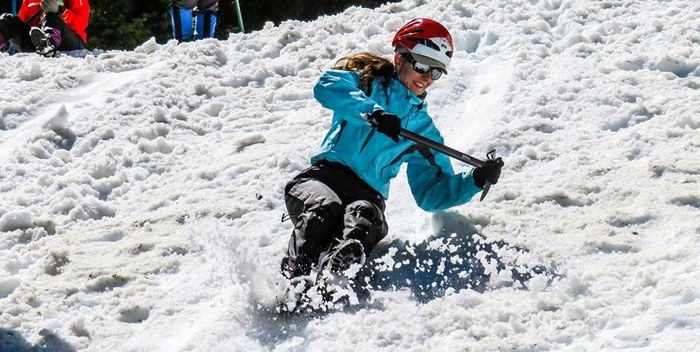
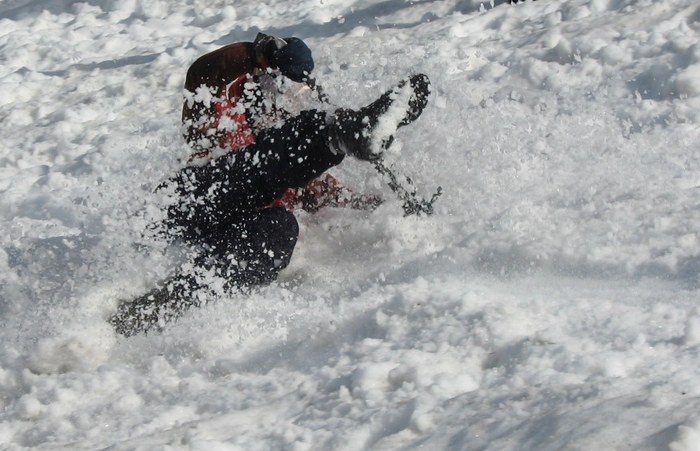
Mt. Rainier: Skiing with a fractured fibula
After a great day out in the snow, it can be easy to let your guard down once you start getting close to the parking lot. Here are some tips to stay safe: Read more…