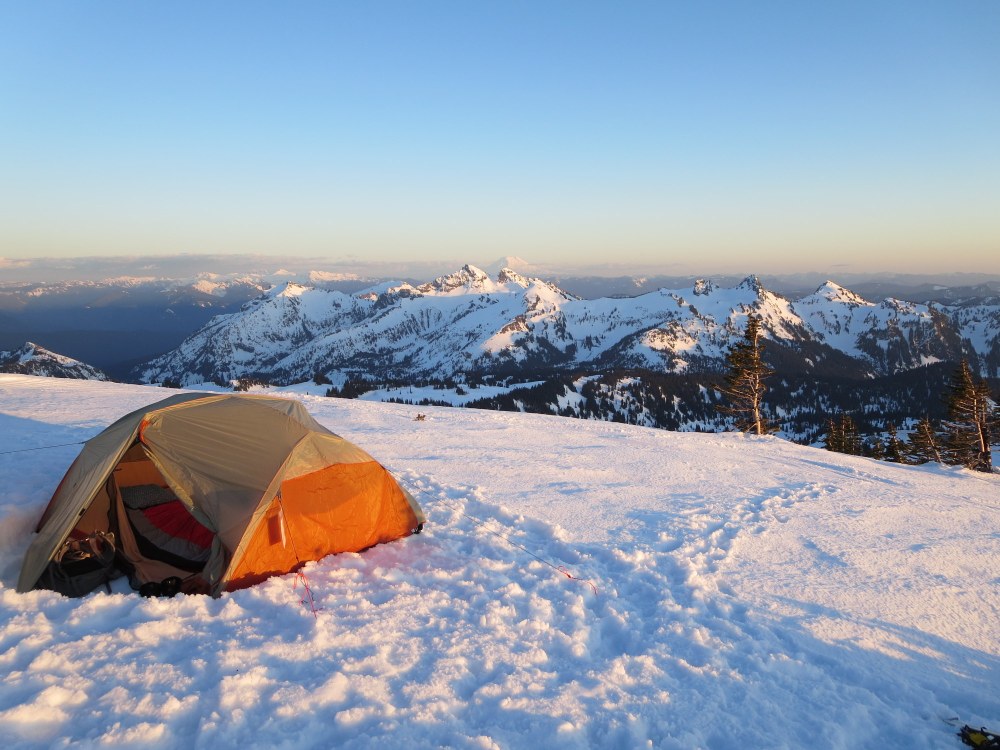
You have a dream of waking up to the perfect winter morning – just you, the stars, and the sunrise on the mountain. It sounds delightful, but one thought may give you pause… why sleep in a freezer?
Yes, it’s cold out there. But it’s also breathtakingly beautiful, there are no bugs, and you can eat ALL of the calories. You’ll also find that otherwise popular or no-camping-allowed destinations are great winter options. Have you always wanted to wake up at Artist Point with a million-star view of Koma Kulshan? In winter, you can.
Gear
First thing’s first, let's talk gear. Take a deep breath. You can do this by building onto your existing three-season backpacking gear. All it takes is a few additions, substitutions, and tweaks to prepare to sleep on the snow.
Sleep systems
Your sleep system should be your top priority - it can be the difference between a great time and a miserable night as a human popsicle.
Start with your three-season sleeping pad and determine its R-Value, a metric of insulation power. Most three-season pads are rated between 3 and 4, and you’ll want a total R-Value of at least 5 to sleep comfortably on the snow. The good news is that R-Values stack – for instance, a pad with an R-Value of 2 and a pad with an R-Value of 3 can be stacked to create a total of 5.
A popular and inexpensive tip is to stack an R-Value 2.6 ThermA-Rest ZLite on top of your existing three-season pad. Live your best Princess and the Pea life.
Water treatment & filtration
Winter water treatment is accomplished by melting and boiling snow for at least 2-3 minutes. This is because water boils at a lower temperature at altitude, and as a result needs to boil longer to kill bacteria. A Steripen is an excellent alternative as it requires only melted water and is effective against bacteria, protozoa, and viruses. Keep in mind you must use water free of particulates with a Steripen.
To store water bring your Nalgenes, as the hydration hoses on water bladders are useless when they freeze. Store the water bottles upside-down as well – remember that water freezes from the top down! Leave flow-through style water filters at home too. By taking a ceramic filter into snowy conditions you’re risking water freezing (and expanding) within, potentially destroying it.
Wearable gear
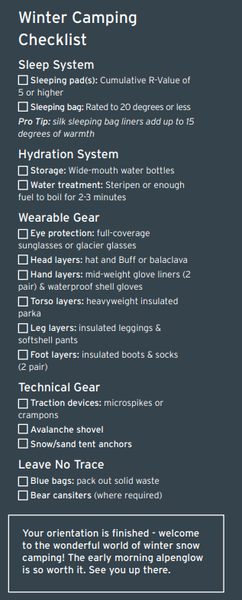
Be brutally honest with yourself when selecting winter layering pieces. Will that jacket keep you warm for four hours at rest in 20-degree temperatures? Nope? Then don’t bring it. A wintertime afternoon picnic at Gold Creek Pond is an excellent testing ground. Add the additional layers outlined in the sidebar to your standard three-season backpacking layering list to stay nice and toasty.
It’s also essential to protect your eyes and skin from harsh alpine sunshine. Up to 80% of the sun's UV rays are reflected off of snow. Your eyes and skin should be covered as much as possible at all times. Re-apply sunscreen every two hours and don’t forget the inside of your nose. Go ahead. Get in there.
Technical gear
You’ll always want to have foot traction devices in below-freezing conditions in case you hit hard snow or ice. A lightweight avalanche shovel is also a must to create a flat tent platform and to dig out snow for melting into water. And, last but not least, you need buried snow anchors instead of summer tent stakes.
Campsite selection & setup
Winter campsite selection follows a different set of rules. Be safe, be smart, and respect Leave No Trace standards by following a few simple campsite selection rules:
- Always on five feet or more of snow cover (protects fragile vegetation from damage)
- Not on or under avalanche terrain (30-60 degree slopes)
- Avoid terrain traps (ex. creek beds)
- Dodge tree bombs – never set up directly under snow-laden trees
Once you’ve settled on a location, start by walking a perimeter outline the size of your tent and vestibule(s), then stomp down the snow in the middle of your tent site. Snowshoes may make this easier in powder snow. It’s a good idea to orient tent door(s) on the downhill side to protect against downward-flowing cold air.
And now, walk away for 20 minutes. Grab a snack. Leave it alone. Your snow tent platform will naturally settle and solidify. Once 20 minutes have passed, return to your tent site with your avalanche shovel. Your next job is to stomp, dig, or pack the snow flat to create your tent pad. Then set up your tent and stake it out using snow stakes or ice axes if you’ve got ‘em. Extra time may allow for the construction of wind walls, kitchen pits, and snow wall sheltered latrine areas. So fancy!
The process of finding a campsite, stomping out your tent platform, and staking your tent in the snow can take much longer than expected. Plan to arrive at your campsite with two hours of daylight to spare.
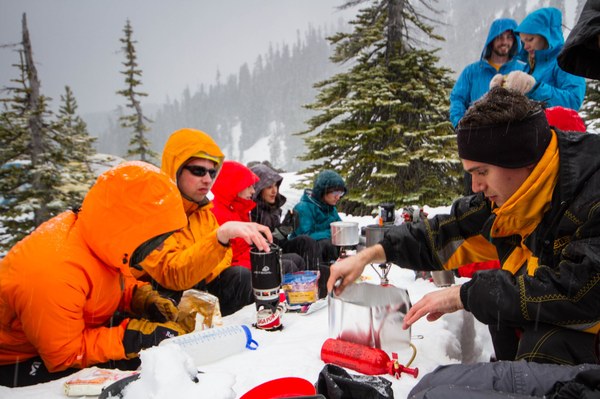
 A wet winter kitchen. Photo by Ida Vincent.
Key skills
Staying warm at camp
It’s easier to stay warm than it is to get warm. This means you’ll want to avoid sweating (getting wet is never good in freezing temperatures), so follow the rule of “be bold, start cold” when hitting the trail, then layer up as soon as you’re at rest. Make sure to also eat and drink every hour to keep fuel in the tank.
Staying warm and maintaining a steady intake of quality calories is especially important before bedtime, making it the ideal time for some chocolate-fueled dance parties.
Sleeping warm – pro tips
- Sleep in dry socks & down booties
- Wear a balaclava & breathe outside of your sleeping bag (keep moisture at bay!)
- Stash a well-sealed hot water nalgene in your sleeping bag
Leave no trace
Winter snow camping presents a unique set of Leave No Trace challenges. Our obligation to travel and camp on durable surfaces, dispose of waste properly, respect wildlife, and respect other users remains imperative all year round.
The most significant challenge is the use of a blue bag. A blue bag is a double-bagged method of packing out solid human waste, and is a requirement in snow-covered environments. Remember to directly deposit into your blue bag – do not scoop solid waste off the snow (yes, this means pooping into a bag).
The scoop method contaminates the snow and traps meltwater inside your blue bag. Tent pad pits can also become terrain hazards for backcounty skiers, so be awesome and fill ‘em back in.

This article originally appeared in our Winter 2020 issue of Mountaineer Magazine. To view the original article in magazine form and read more stories from our publication, click here.
 Teresa Hagerty