Trip Report
Winter Scramble - Mount Wow
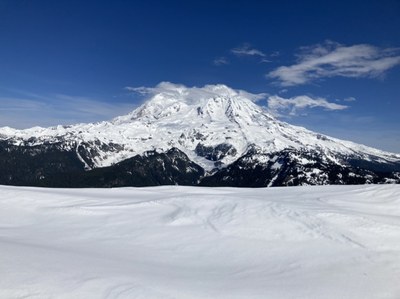
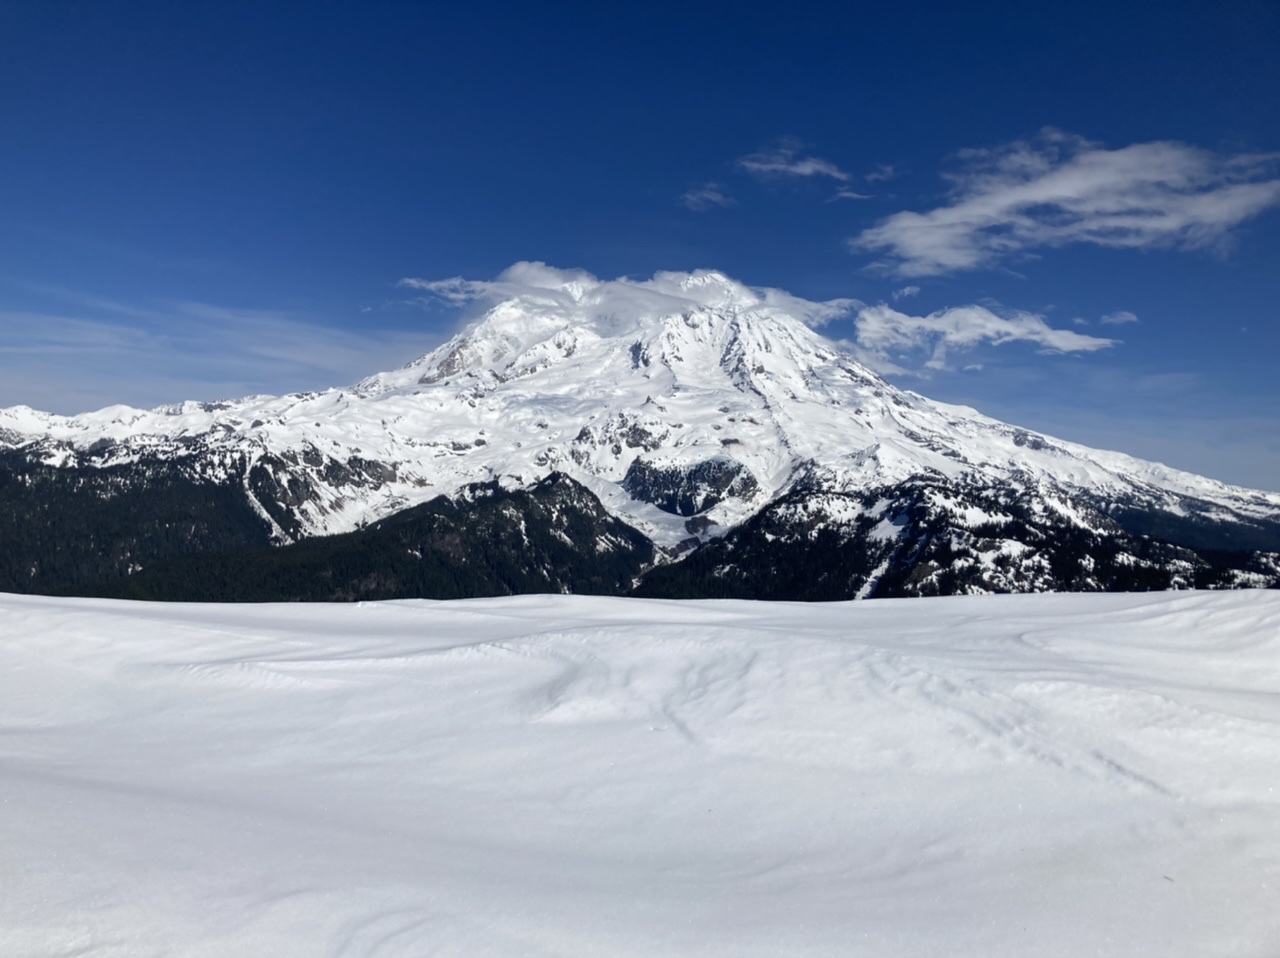
Gorgeous views in all directions, most particularly of Mount Rainier (that initial view as you reach the summit is probably why they named it Mount Wow ;). A great workout with a variety of conditions and route finding puzzles (made a bit spicier by an incoming afternoon storm).
- Sat, Mar 12, 2022
- Winter Scramble - Mount Wow
- Mount Wow
- Scrambling
- Successful
-

- Road suitable for all vehicles
-
Snow free hiking on the Boundary Trail up to the ridge crest at ~4200’ (the bridge that had crossed Tenas Creek at ~2300’ is now completely gone). Frozen ground and icy snow made micro-spikes useful up to ~5300’, with crampons used as a safety measure for the descent of a bad runout traverse just below the summit. Although we used snowshoes on the plateau at ~5400’ they were not really necessary and dispensed with them on descent.
The nondescript spot in this photo belies it’s importance towards a successful winter summit of Mount Wow:
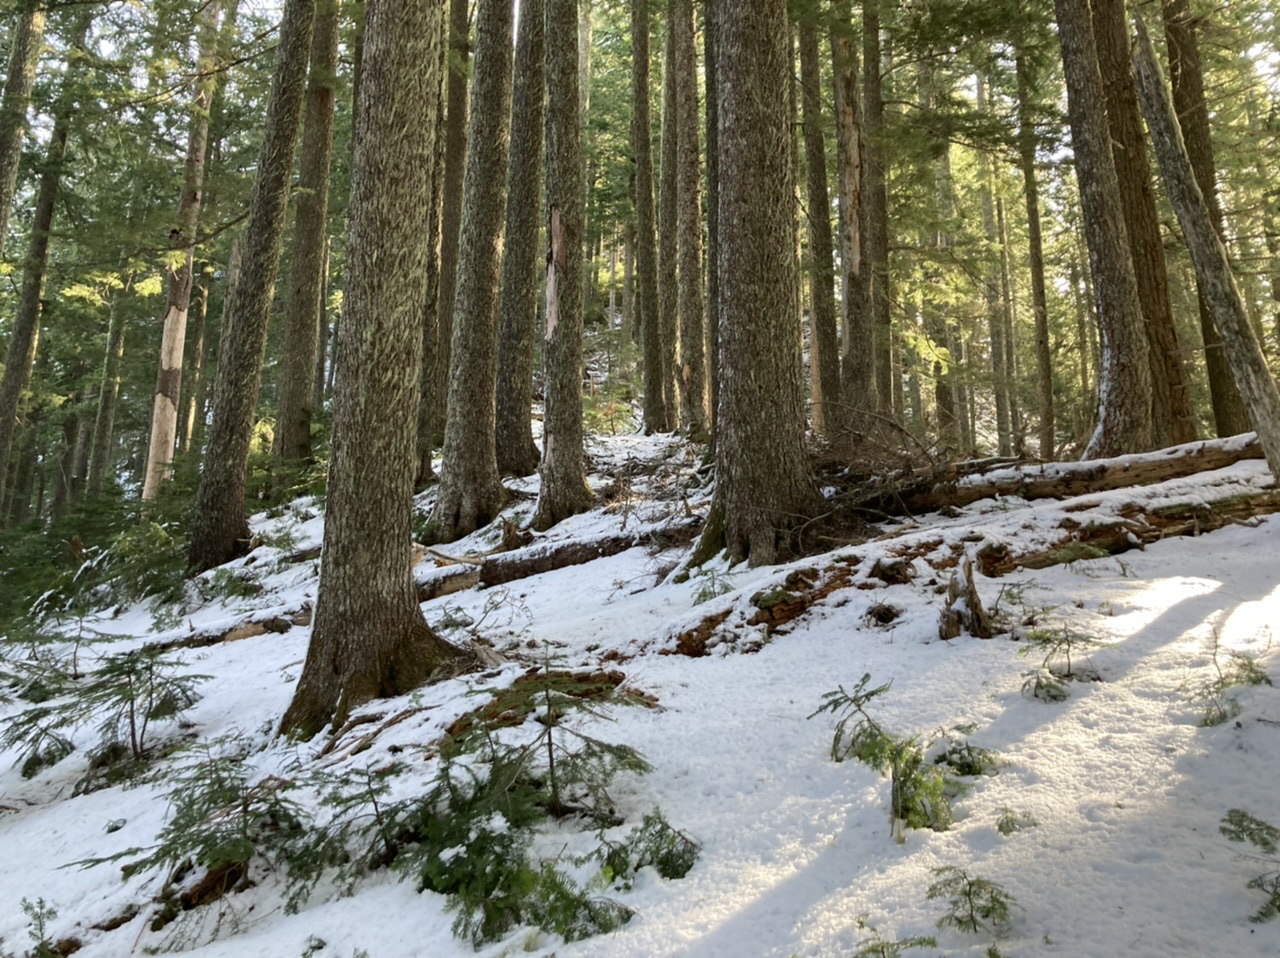
It was taken at ~4500’ elevation (looking upward towards the east) on the ridge trending to the west from the false summit of Mount Wow (Point 5614). This is the spot where you depart from the ‘summer route’ (the part with some interesting rock scrambling) and begin the ‘winter route’ (shown by the thick solid line on this map):
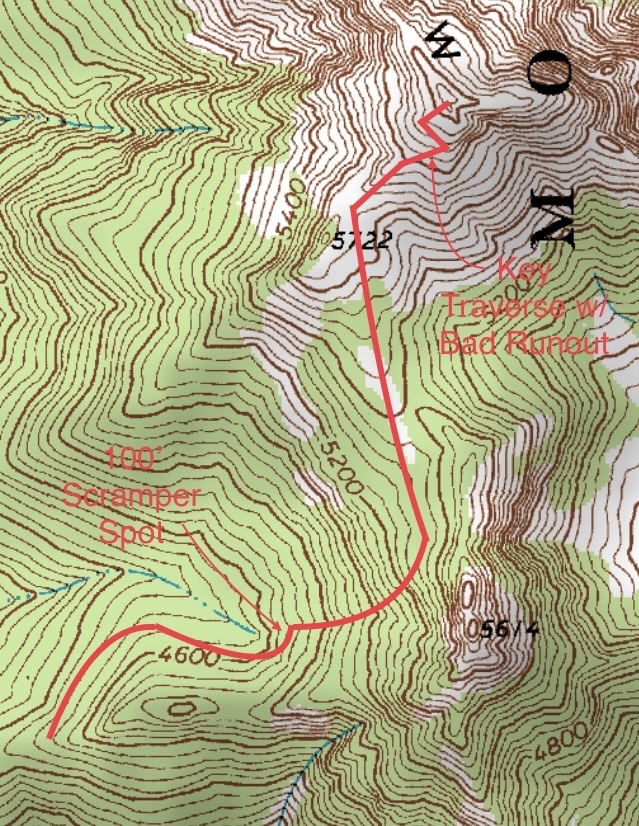
After traversing northward on the winter route (with a bit of up and down for terrain affording easier progress) you can make a turn and enter the basin west of Point 5614. This basin is a perfect avalanche setting, but by hugging the base of the ridge on the southern margin of this basin you can avoid avalanche risk to reach a narrowing at ~4750’. This 100’ wide narrowing mitigates avalanche exposure with a quick, one at a time crossing, made even less risky by the scramble scamper (e.g. boogying across), shown here on our descent:
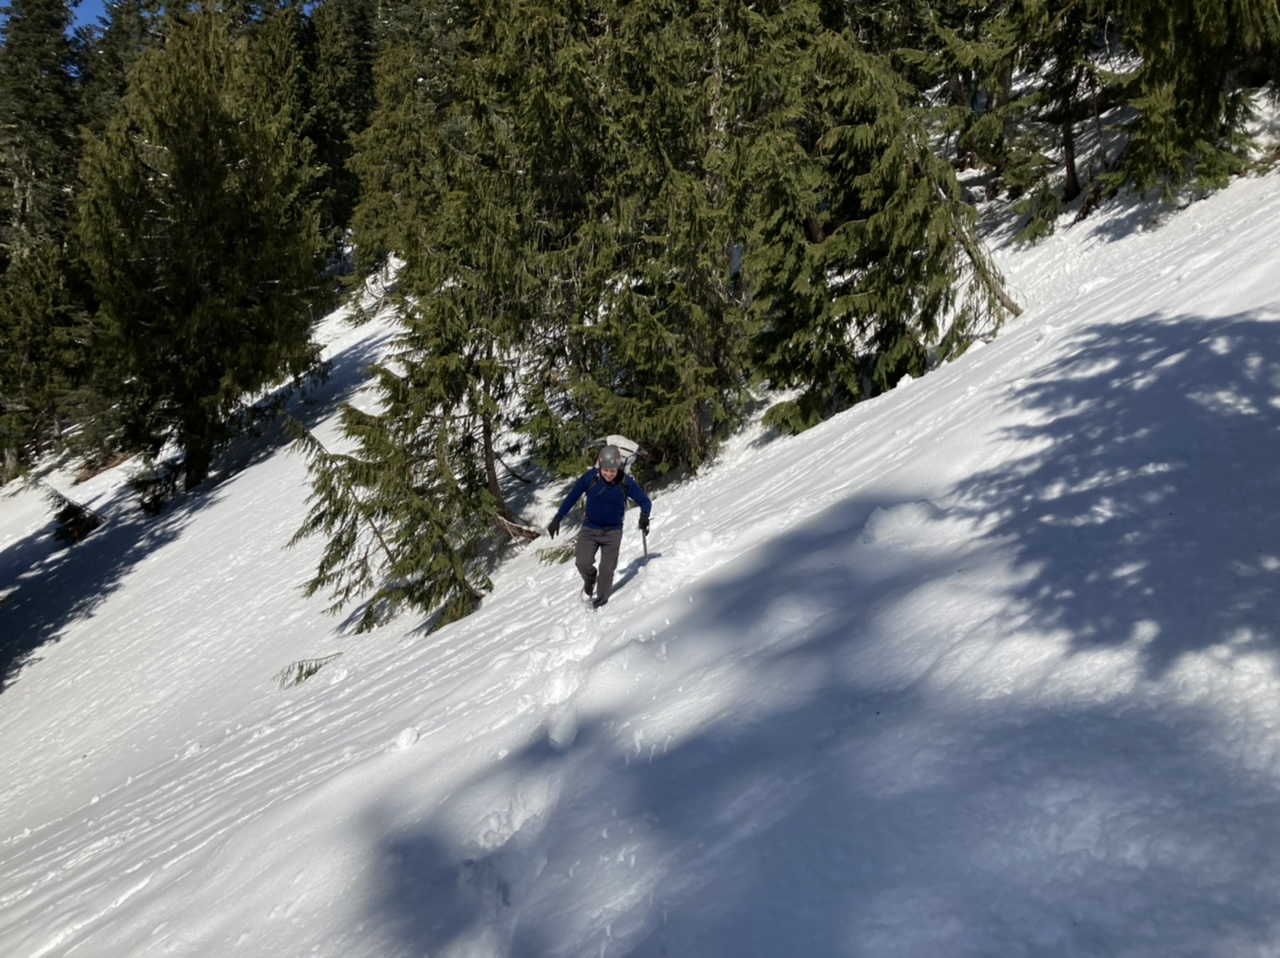
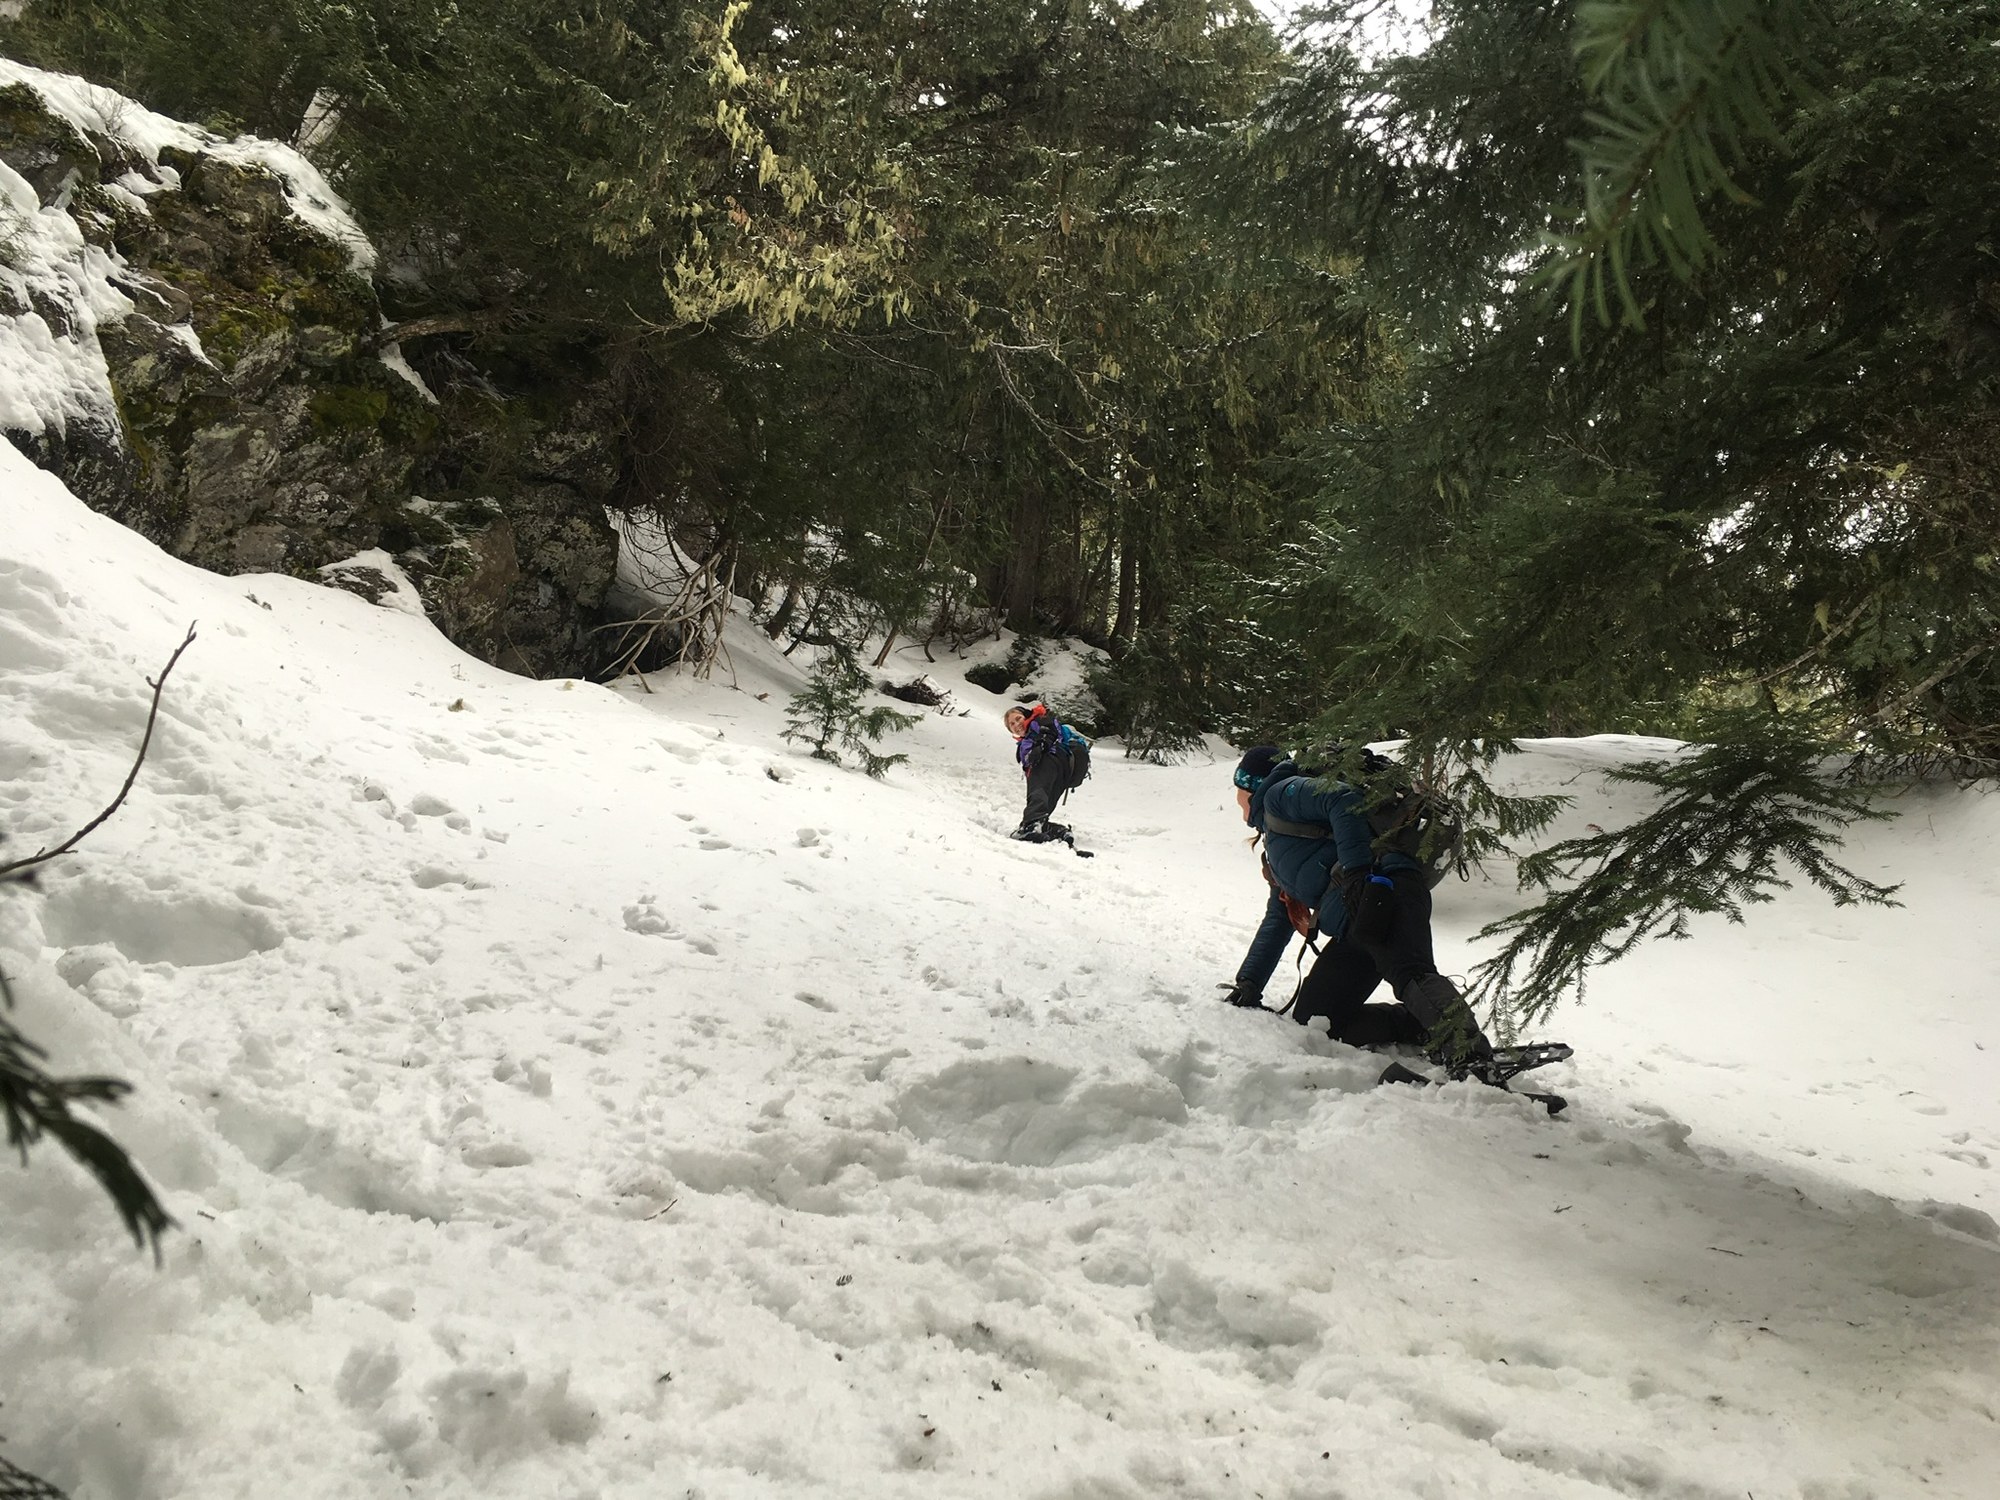
Immediately adjacent to this narrowing (on the other side) is a steep slope leading to the spacious plateau at ~5400’. On this trip micro-spikes were adequate, but sometimes crampons and/or snowshoes are required (as was the case on the January 2019 trip shown in this photo):
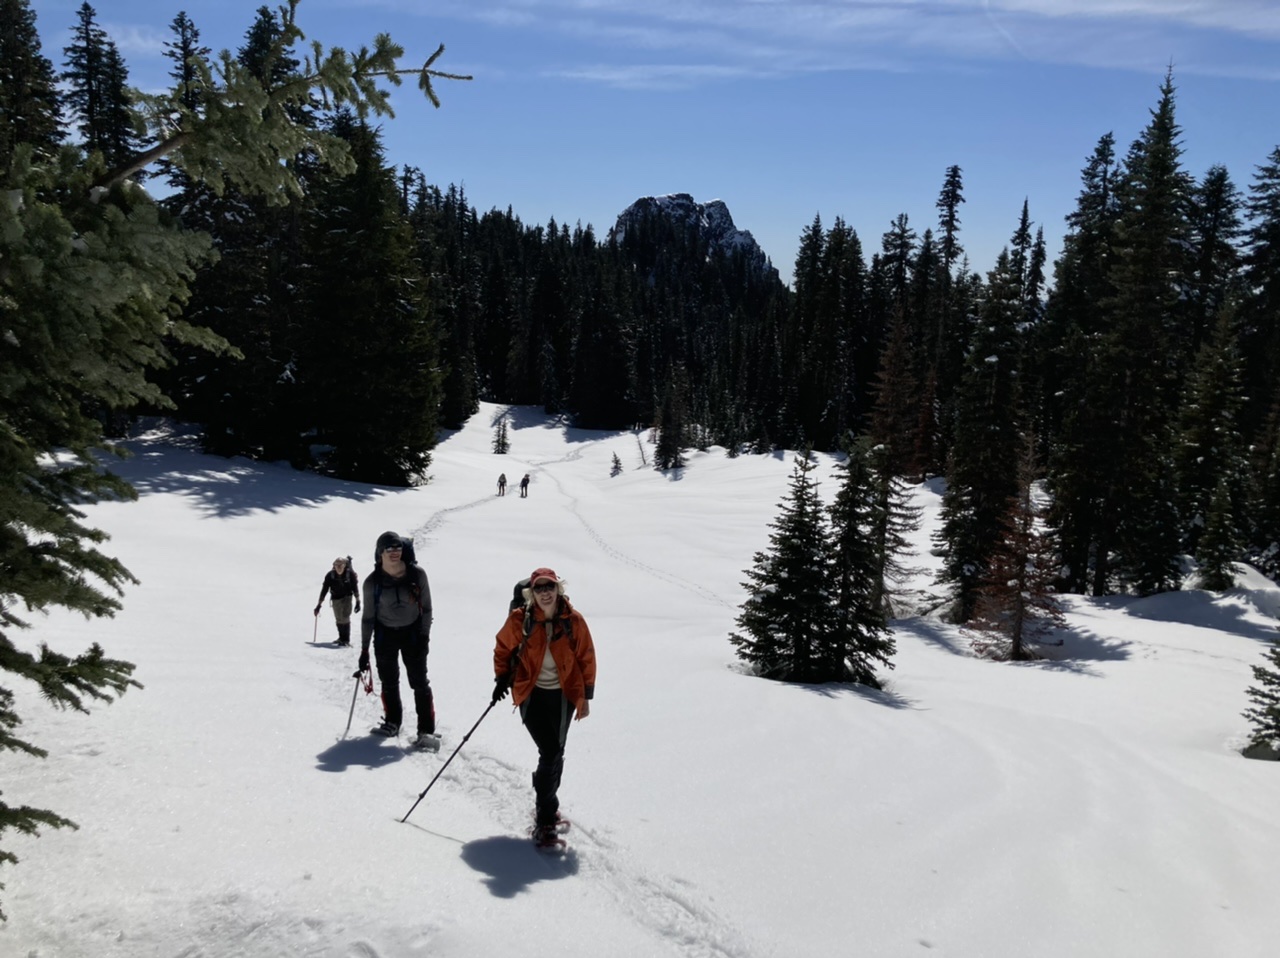
The spacious 5400’ plateau (love that sun, Point 5614 in the distance):
The route just below the summit involves a traverse with a precarious runout (the lower of the 3 switchbacks shown in red). This spot frequently turns parties back just shy of the summit (quite the disappointment when you are so close, conditions on a December 2019 trip where a turnaround was required can be seen here):
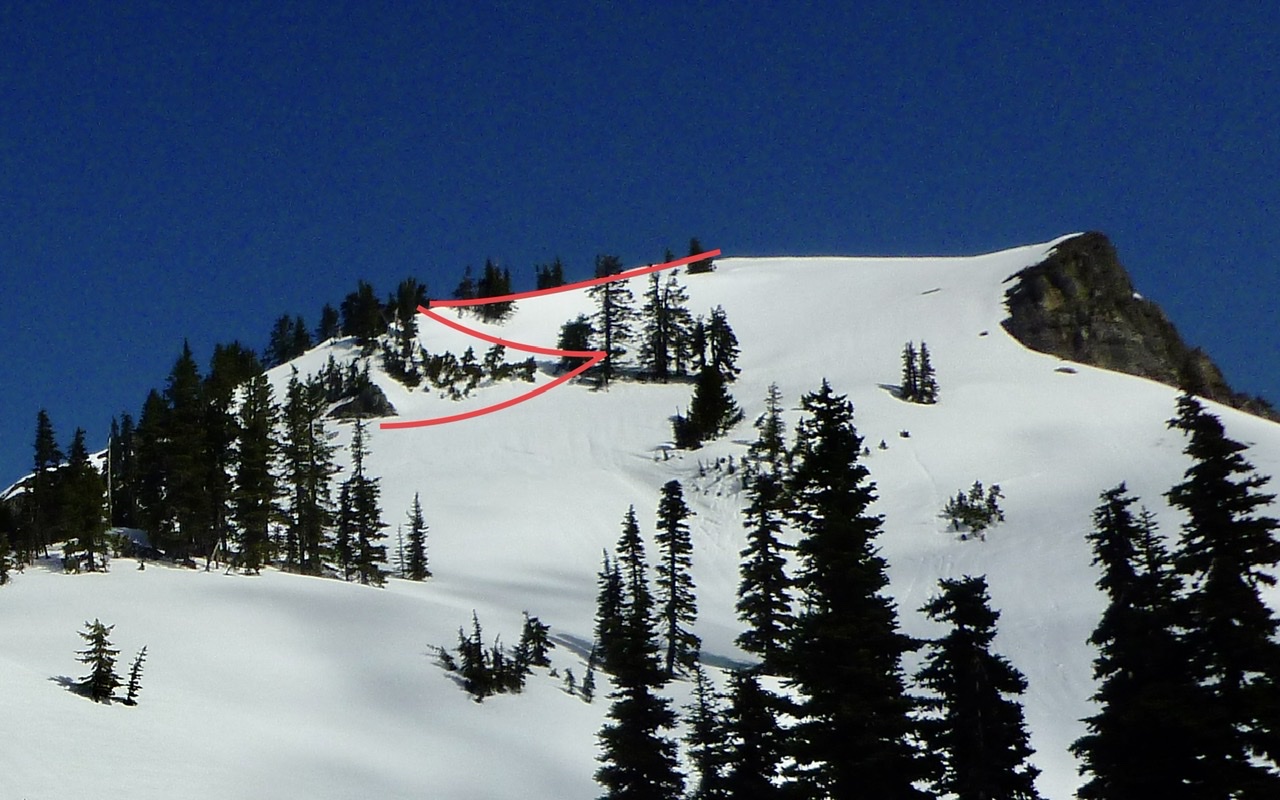 (photo from April 2013)
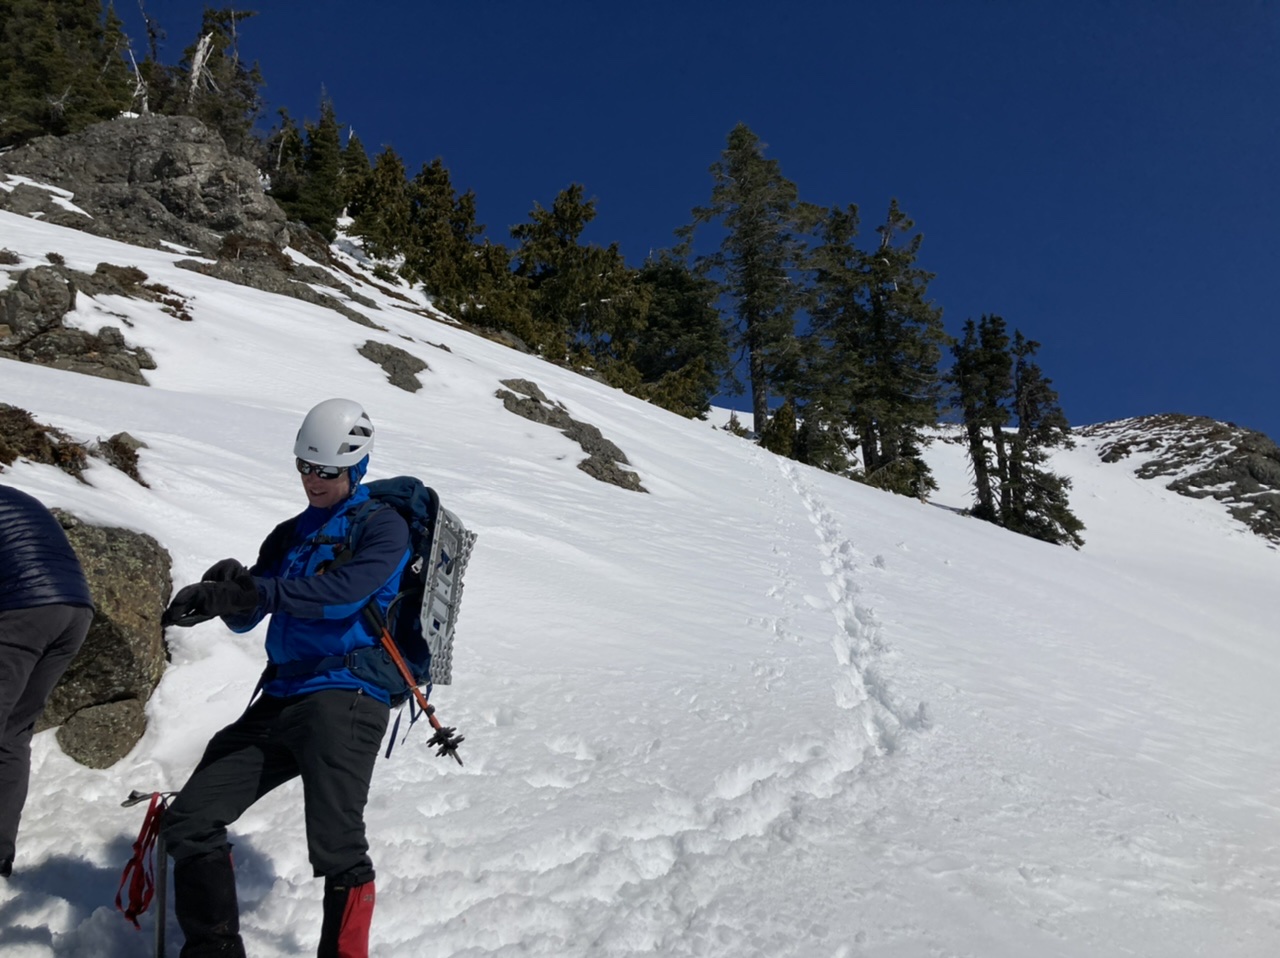
The lower/problematic traverse (on descent) with the summit just above:
The final traverse to the summit (St. Helens on the left):
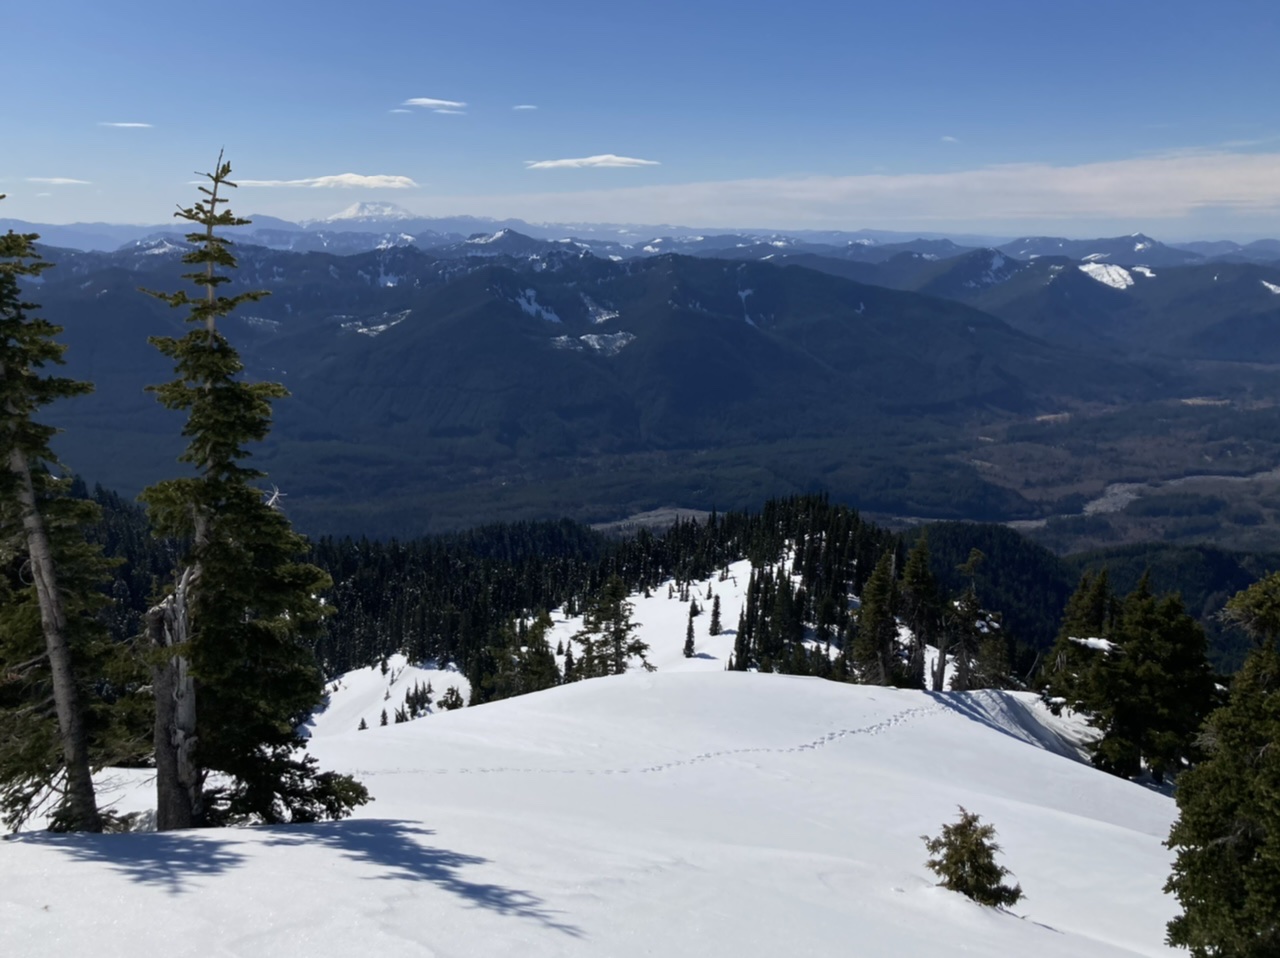
The Mount Wow moment (note the foreground slump associated with a substantial cornice):
After summit shots and a leisurely lunch:
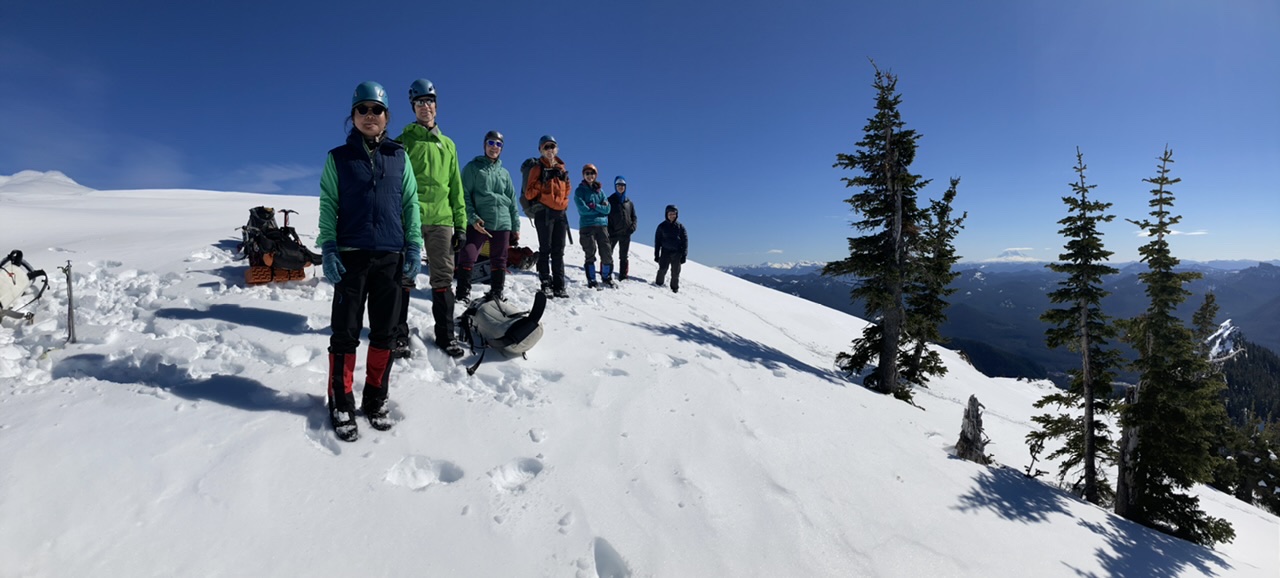
…we headed home:

The impending storm kindly held off its precipitation until we reached the cars. A great day in the mountains on this ~10 mile, ~4500’ gain trip. Our total time was 9 hours (5 hours up, 4 hours down). Photos from this and other trips to this venue can be seen here.
 Dave Morgan