Trip Report
Mount Washington/Shield Wall
Great day out on a day with questionable weather :-) 4 out of 5 overall stars based upon the aggregate quality of the route, approach, views, climbing, partner, and stoke. Well 5 stars for my partner ;-)
- Sat, Jul 31, 2021
- Mount Washington/Shield Wall
- Climbing
- Successful
-

- Road suitable for all vehicles
-
Road conditions are good as to be expected up to and just the small distance beyond the Mount Ellinor Upper TH. As noted by others, the road is washed out beyond the Mount Ellinor Uppper TH so parking the car here and walking 2 mins to the climbers trail is easy.
Marko and I climbed Mount Washington C2C on 7/31/2021, weather looked iffy in the Cascades and a recent trip report sucked both of us into this route. Also it didn't hurt that neither one of us has ever topped out on Mount Washington before, so this was a no brainer!
Stats:
10hrs 45mins C2C
- 90 mins on the approach trail to the base of the SE Ridge
- 8 hrs 30 mins on route
- 15-30 mins of break and time to pack up and top out
- 90 mins back down the trail using Route 1 of the Olympic Mountain Climbers Guide
Gear details:
- 60M rope
- 6 single alpine draws and 4 double alpine draws
- Small cams were nice Metolius Ultralight Master cams 00-6
- BD Camalots .5 - 3
- Set of nuts
- Set of tricams (not really needed, but could be nice if you built more gear anchors than we did)
Climbing details:
- 12 pitches total (many different ways this could be split up)
- 6 to the top of the shield wall
- 6 beyond the shield wall with 2 rappels mixed in there between each gendarme with some walking between gendarmes (the last "rappel" one could walk it and we did)
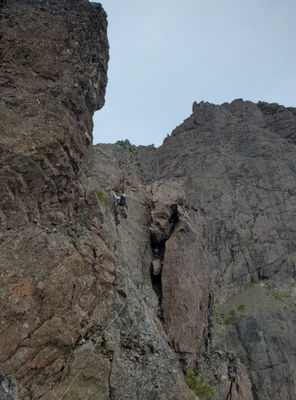
- We did the route as described below by The Olympic Mountain Climbers Guidebook and including the 5.7 crack and chimney on the shield wall proper. Don't sleep on the 5.7 finger size crack pitch you will get beyond the second rappel it was definitely more difficult than any other pitch on the route, this crack is different than the one noted on the shield wall. (Good job Marko)
Thoughts:
- Our strategy was to keep the rope moving. We made sure to be judicious with our drinking and eating and kept things going!
- The rock quality is not the BEST, but it's also not really bad as noted by some folks in places I looked for beta. Testing hands and feet were top of mind while doing the route.
- The approach trail I thought was awesome. I graded this an A.
- NOTE: Some scrambling to get to the base of the route up the "final" gulley.
- The last thing that we thought was useful was once half the rope was out we were looking for a good belay, essentially a lot of belays were off of rocks/pinches and on the ridge proper some were gear anchors that were not all that desirable but doable. (radios helped with this quite nicely)
- Last, when in doubt on the shield wall, keep the rope moving up and choosing the path of least resistance.
Helpful beta:
- Map created by me of our ascent using our gpx Marko took https://caltopo.com/m/8Q8R
- Really really useful trip report with beta photos buried in there HERE
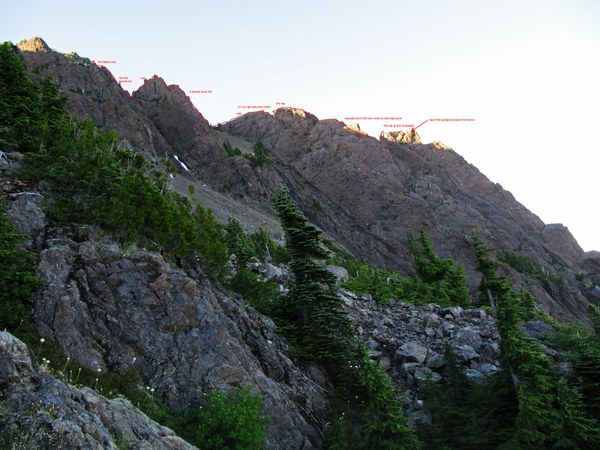
Very useful beta photos noted above in the trip report by "Offwhite" we did almost this exact ascent shown in this shield wall photo here.
This was a useful topo by one of the TRs above but we did not follow this exactly...

 Douglas Hansen

