Trip Report
Basic Alpine Climb - Sharkfin Tower/SE Ridge
Boston Creek was raging and moats are getting tricky!
- Sat, Aug 26, 2017 — Mon, Aug 28, 2017
- Basic Alpine Climb - Sharkfin Tower/Southeast Ridge
- Sahale Peak/Quien Sabe Glacier
- Climbing
- Successful
-

- Road suitable for all vehicles
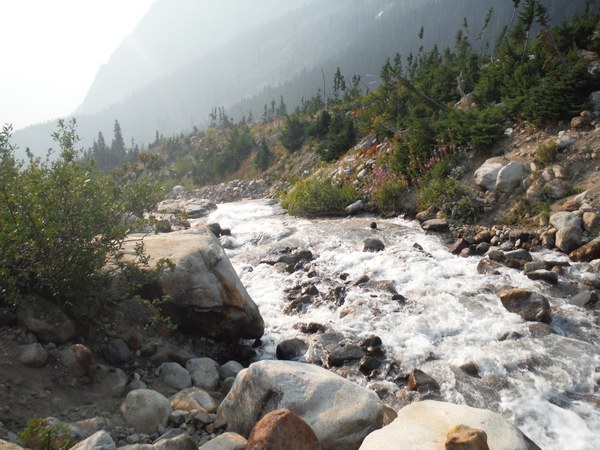
Bad washboards on the CCR but fine for all cars. Trail to BB is dry dry dry and dusty - advise you cover nose and mouth unless you want mud in your sinuses! Boston Creek (the final crossing before camp) was ok on the way in but tricky at 4pm Monday. We hiked up to 5750' and crossed above the conflux, followed the south bank back down to the trail.
We angled all the way to the left edge of the Quien Sabe and gained the glacier at the highest possible point which only had about a 2' moat. We probed around at 7500', beyond the signs of rockfall beneath Sharkfin, and found snow depth was generally only a couple of feet over solid ice. Made a dry camp there and had excellent position for both Sharkfin and Sahale. Disadvantage of QS camp was the daily roped walk down to the glacier's edge to filter water and sunsets were blocked by a rock buttress, but otherwise we had an awesome little spot!
The moat around SF's lower gully was about 4' the morning of summit day. We belayed off a vertical picket to cross the moat and climb about 30' up an easy low-angle crack to gain the gully - no pro needed here. Lots of 10-50# rocks precariously perched in fine sand on the gully floor. Scrambled up like we were walking on egg shells in 2 groups of 2. The final 30' of the lower gully was very easy 5th and there's a nice little spot directly above to build a gear anchor.
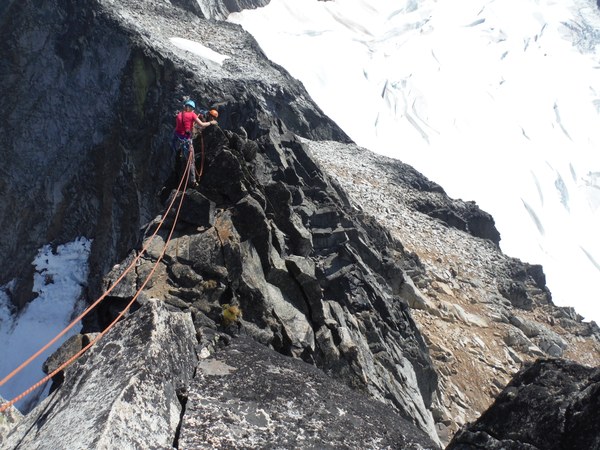
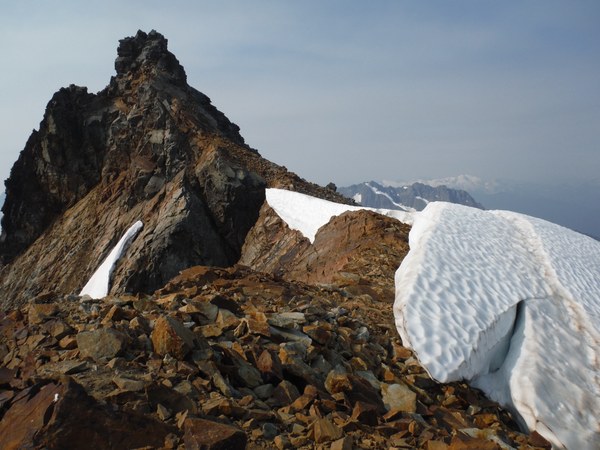
The u-notch in the SE ridge of SF is very deep and obvious when you look directly at it, but like the lower gully, it's well camouflaged from the side. From the notch the climbing was brilliant! Rope drag on the 3rd and final pitch is a MF. Even placing very little pro on P3, I was tempted to stop short of the summit slings and start belaying. I pressed to the summit anyway and I think it was faster to do so.
We made a couple of mistakes on descent that were valuable lessons, so here are the tips that I think could really help other parties. To protect the decent from P3 (which most people would want) I recommend belayed traverse placing pro. We tried saddle bag rap and it was a SS. There are 3 'rap' anchors for P3; one at the summit, one 30' back down the ridge, and one 20' below the end of P2. Use all 3. The time you spend rigging these will be less than the time it took for us to manage the rope trying to 'rap' sideways!
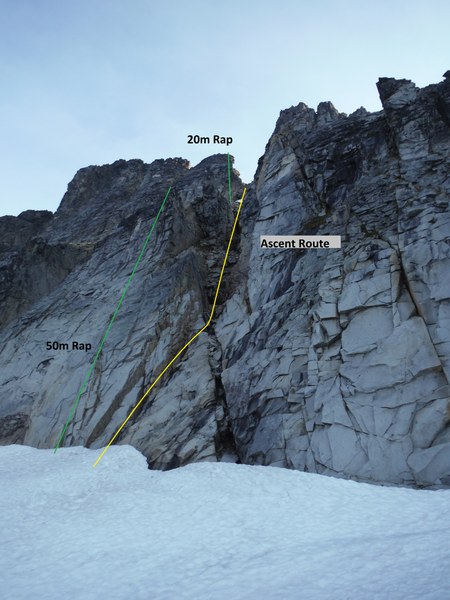
The lower gully to regain the glacier was not as sketch as I'd heard. The first rap station on the rock prow above the gully is in a perfect spot - clean, slightly overhung 20m rap to a secure dirt patch in the gully. Easily scramble to the second rap station and do a 50m (double rope) rap climber's left of the gully, entirely outside of the bowling alley. Regaining the glacier was tricky because the moat grew during the day. It had been about 4' on the way up but on return it looked about 8'. There are secure feet on the rock across from the moat so we found the best way across was to pull slack through the rap device and dive! Saw some good fish-flop technique from our team, but it wasn't necessary (I stuck the landing!). Pulling rope was as easy as can be with a wet double-rope.
We attempted Sahale the next day but unfortunately, while transitioning to rock at the icy top of QS, one of our team lost their ice ax. Down into the bergschrund it slid! We scrambled up to the upper snowfield and found that rock is only partly melted out, so a traverse of the upper snowfield would have been necessary. With a small team and down one axe we decided not to press on from there. Still, it was a beautiful spot for an early lunch and we had fun exploring the col.
I'll happily go again for another attempt. Best climb of my season!
 Scott Braswell